Add and Configure a Panopto Block in Your Moodle Course

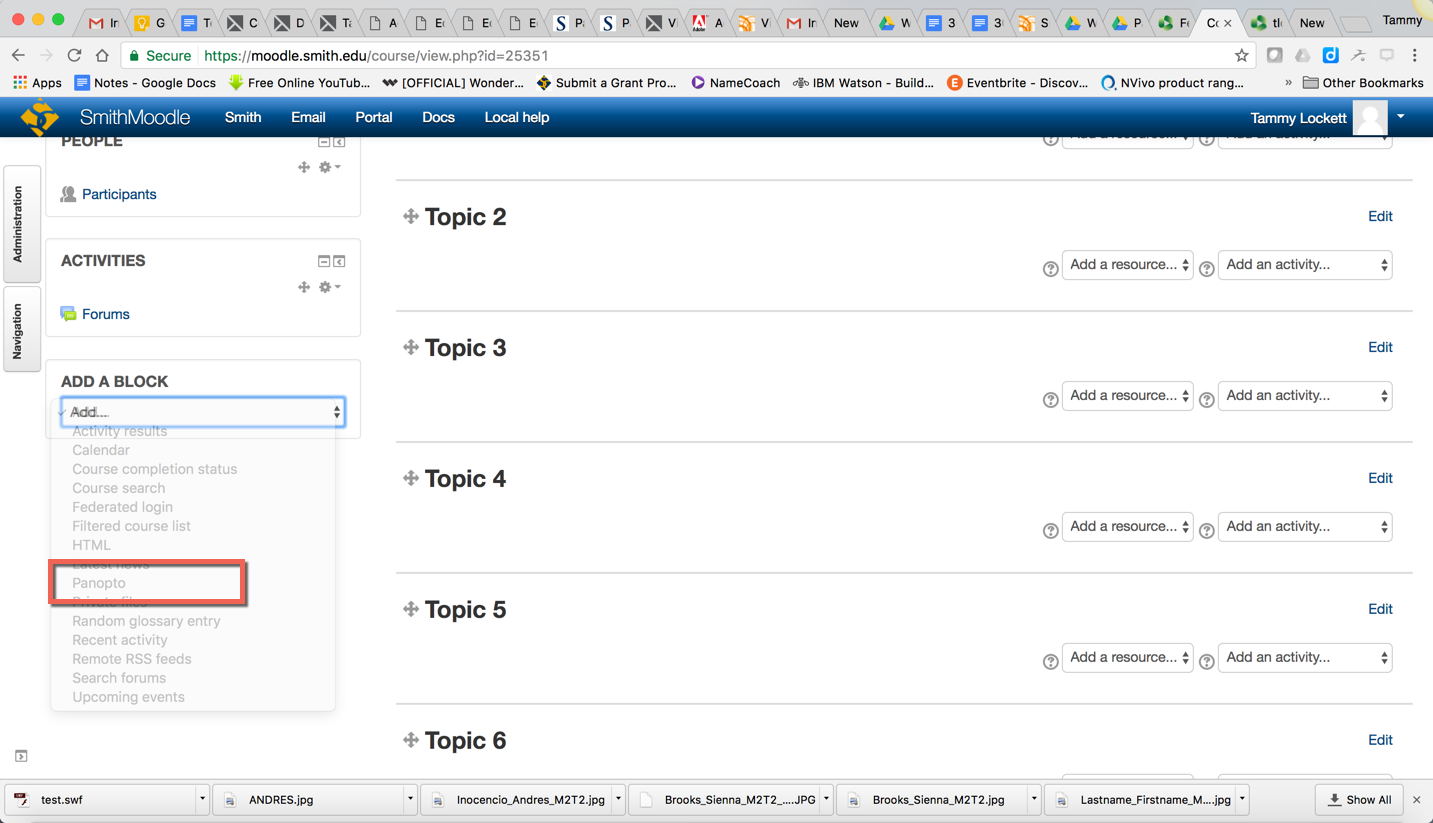
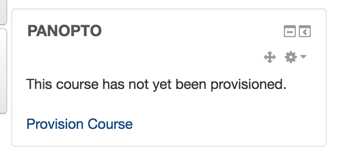
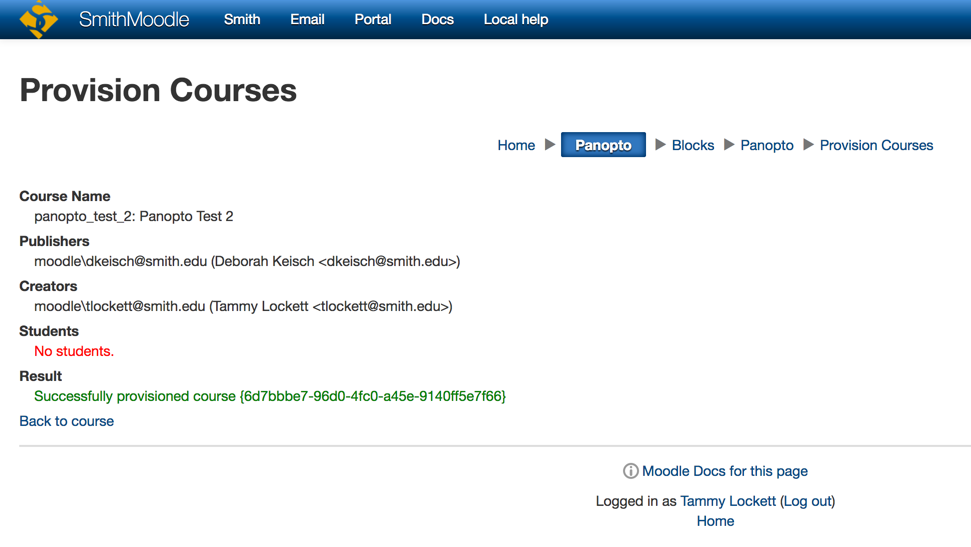
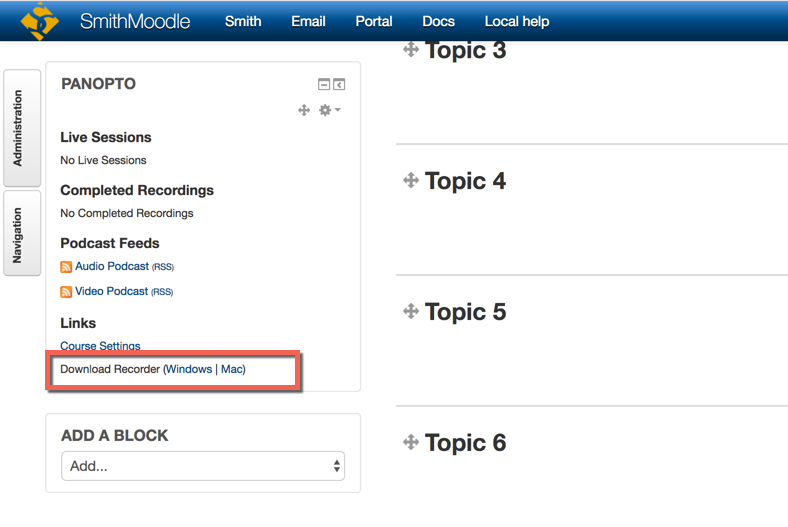
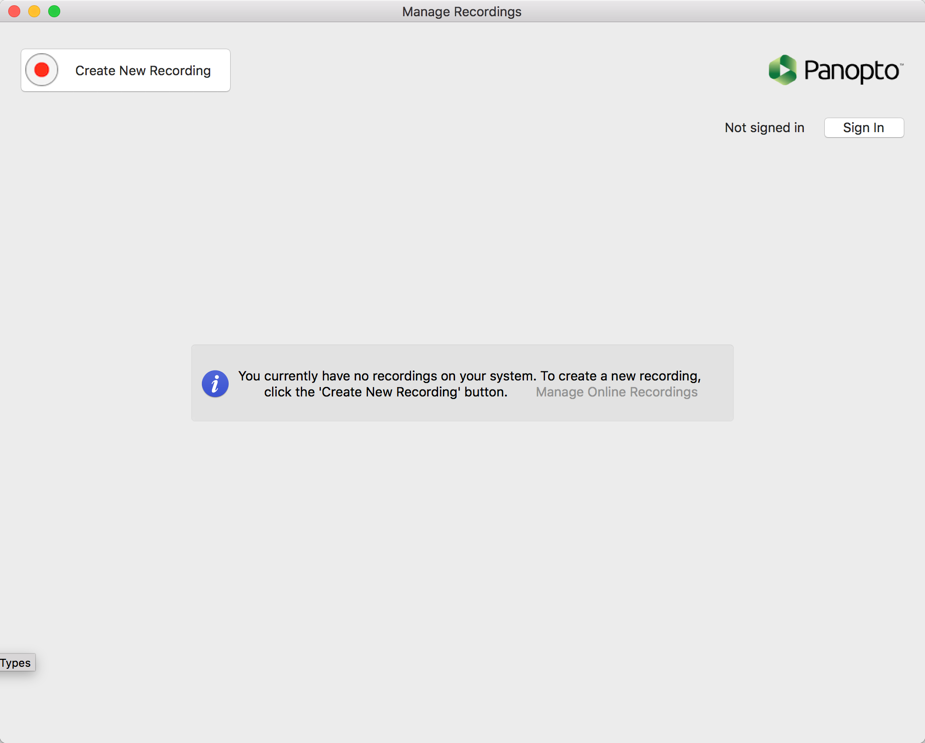
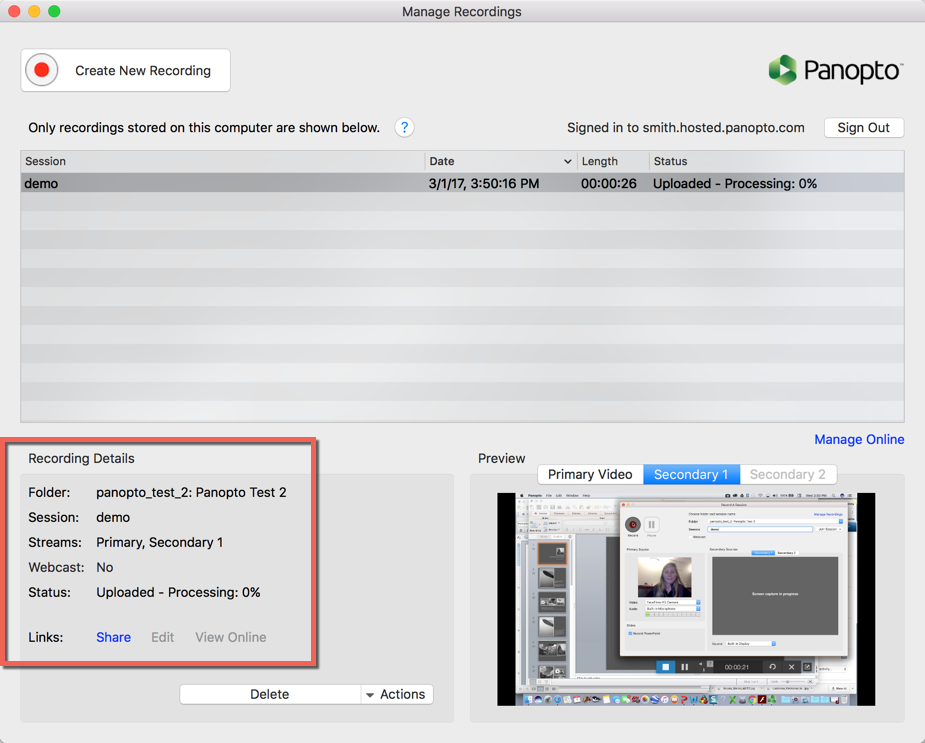
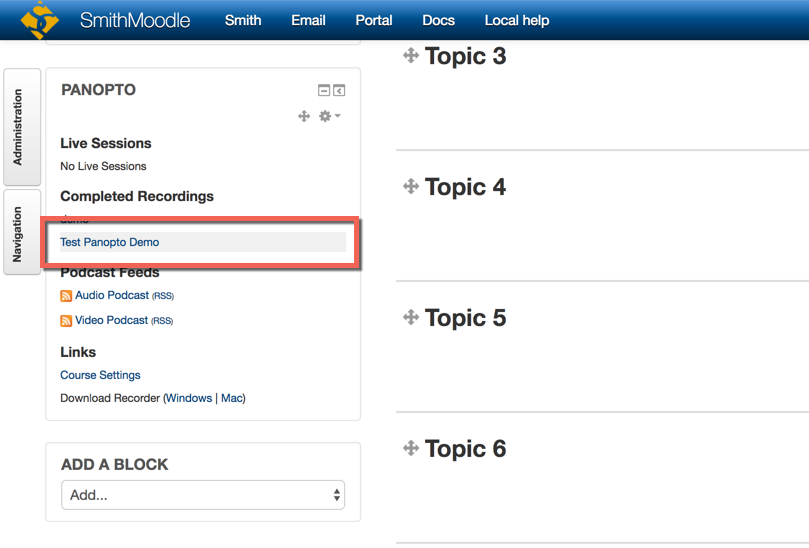
One great way to extend your students’ learning experience is with lecture capture using our Moodle integrated lecture capture tool Panopto. You can record your screen, webcam, slideshow, and voice at the same time. When you’re done recording, the video is automatically uploaded to the Panopto server and made available to students through Moodle.

Review the tutorial below to get started.

Adding a Panopto Block to Your Moodle Course

1

To add a Panopto Block to your Moodle course, go to Add a Block.

2

Scroll down to Panopto and click it. A Panopto Block will appear in your course.

Under the This course has not yet been provisioned message, click the Provision Course link.

3Note the Result Successfully provisioned course {6d7bbbe7-96d0-4fc0-a45e-9140ff5e7f66} Then click the Back to Course link

Note the Result:
Successfully provisioned course {6d7bbbe7-96d0-4fc0-a45e-9140ff5e7f66}

Then, click the Back to Course link.

4

In the Panopto Block, go to download recorder and select the link for your operating system.

Install Panopto.

5

Launch Panopto and select Sign In.


6

You will be prompted to sign in with your Smith credentials. Select Moodle from the dropdown menu and sign into your Smith account. Click Create New Recording.

7

A recording screen comes up. Select your Moodle course from the dropdown and name your recording.  Note: Your students will use this name to search your videos so be sure to name it something relevant to the course.

8

Record a Webcam using the primary video stream and a Power Point using the secondary video stream.

9

Your file will upload automatically to your Moodle course folder on the Panopto server.

10

Your video will appear in the Panopto Block in your course.

11

Click on the video file name to launch Panopto so your students can view it.

Video in Panopto


We'd love your feedback!

Last modified: June 2, 2017