Add Sidebar Widgets to Your WordPress Site

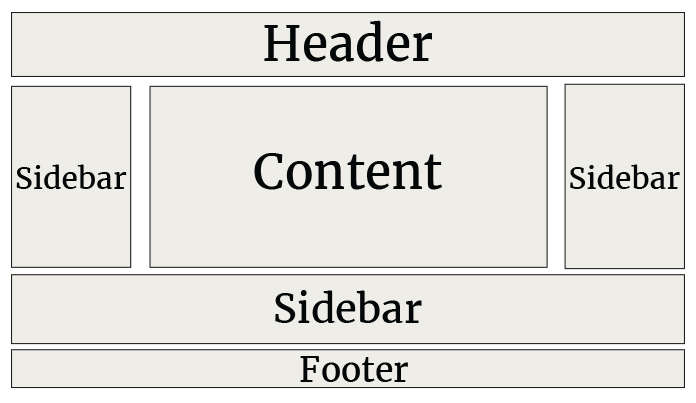
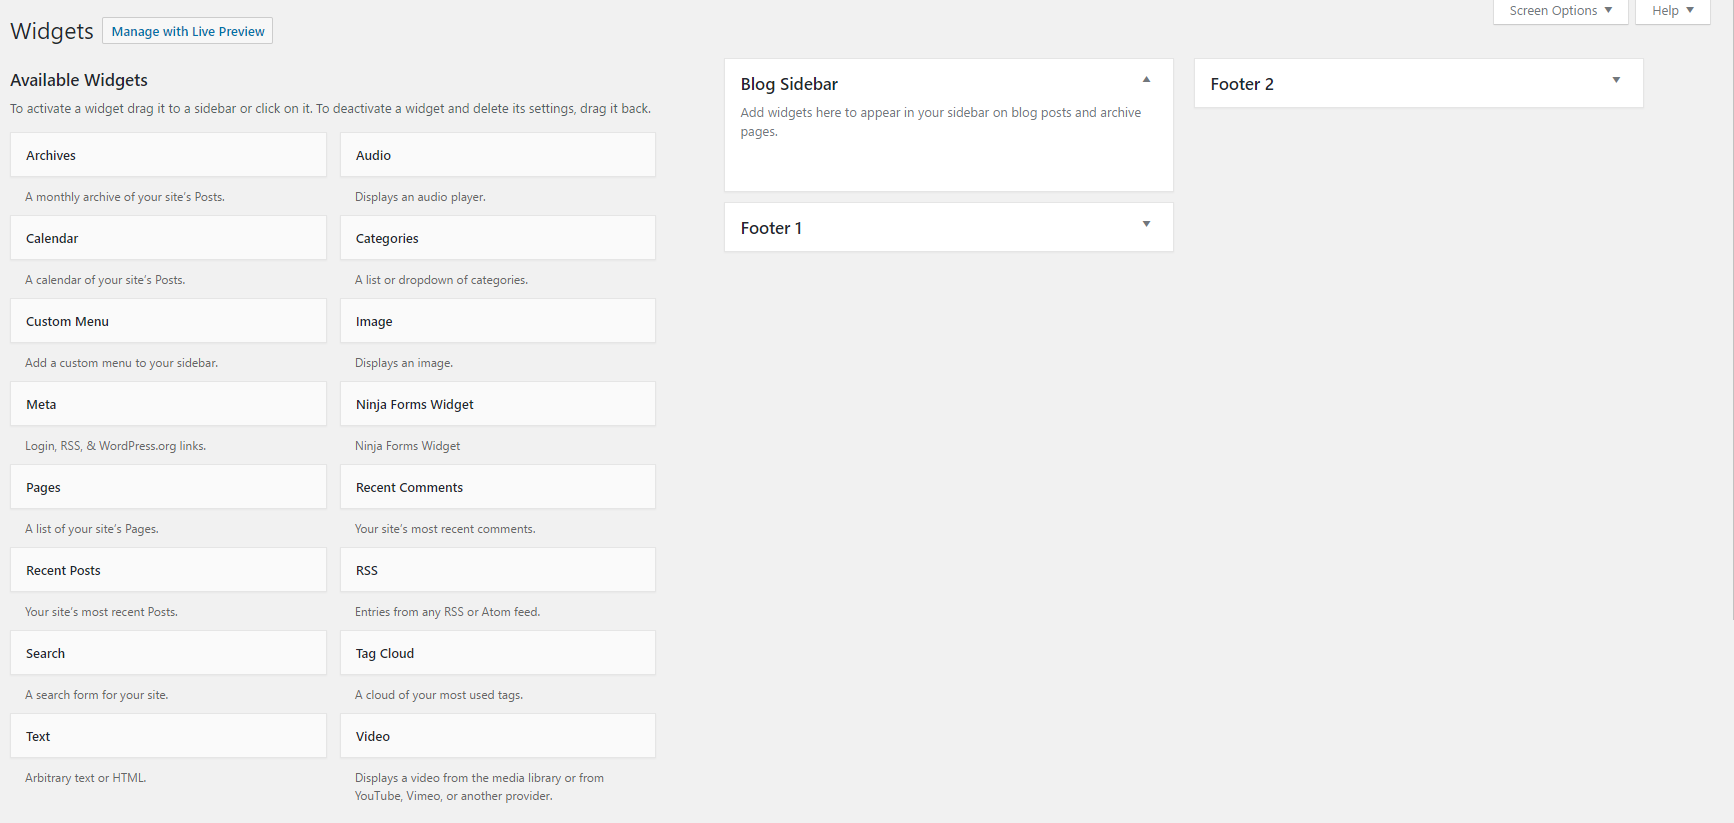
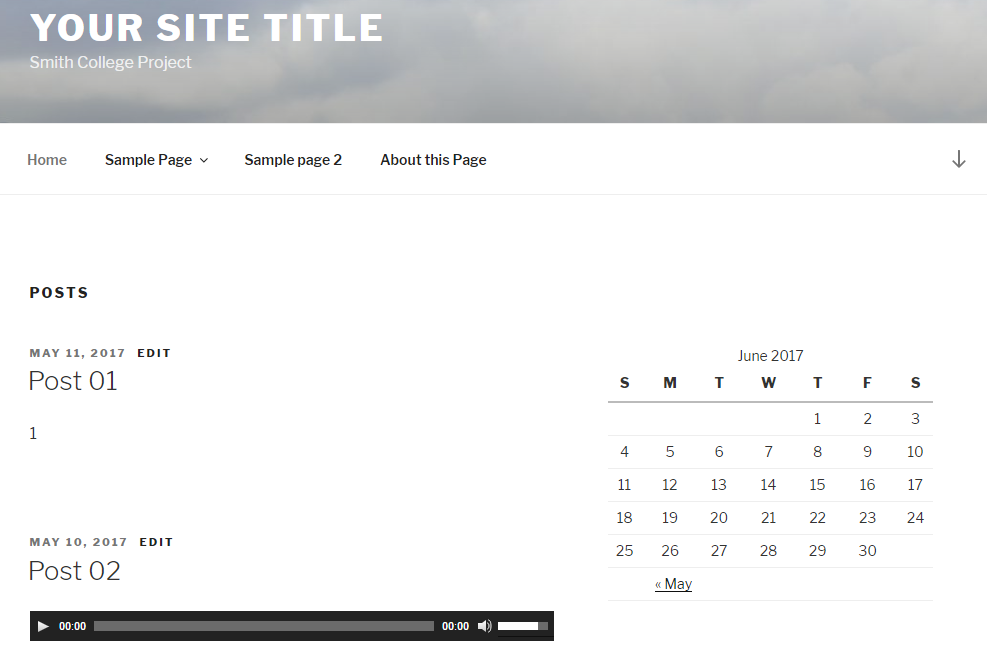
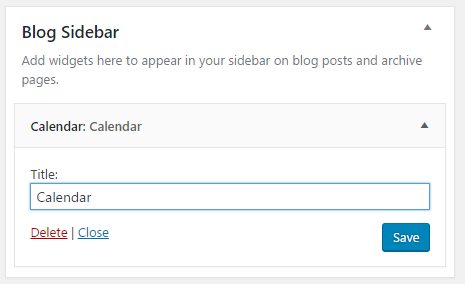
Widgets are blocks of information (or functions) that can be added to a WordPress site through the sidebars or the footer. Sidebars are designated areas on your site where you can add widgets. The availability of sidebars vary depending on the theme you are using for your project. However, often times you will find that your site sidebars will be located on the right (or left) side of your content area as well as below the content area.

An image displaying the locations of sidebars and footers on a website

Add a Widget to your WordPress Site

1

Navigate to the Dashboard of your site.

2

In the “Dashboard”, on the left side of the page, under the toolbar, click Appearance, then click Widgets. The “Widgets” page will open. Available widgets will be on the left side and available locations on the right side.

An image of the WordPress widgets page

3

From the right on the “Widgets” page, drag and drop an available widget to the location you want it. The widget will be listed as part of the sidebar or footer and remain selected showing its personalization options.

Note: As soon as you drop the widget into a location, the widget will be available on the site. You are not required to click Save.

An image of a calendar added to a site
A screenshot of a Calendar widget added on the left sidebar.
4

Optional: Complete the personalizations options.

An image of the calendar menu
Calendar widget options.

To confirm changes, click Save. The widget will be updated with the new information.

Calendar title on the calendar widget
Calendar title displayed on the calendar widget

For more information about Widgets, visit the Codex Widgets documentation.


We'd love your feedback!

Last modified: September 20, 2017